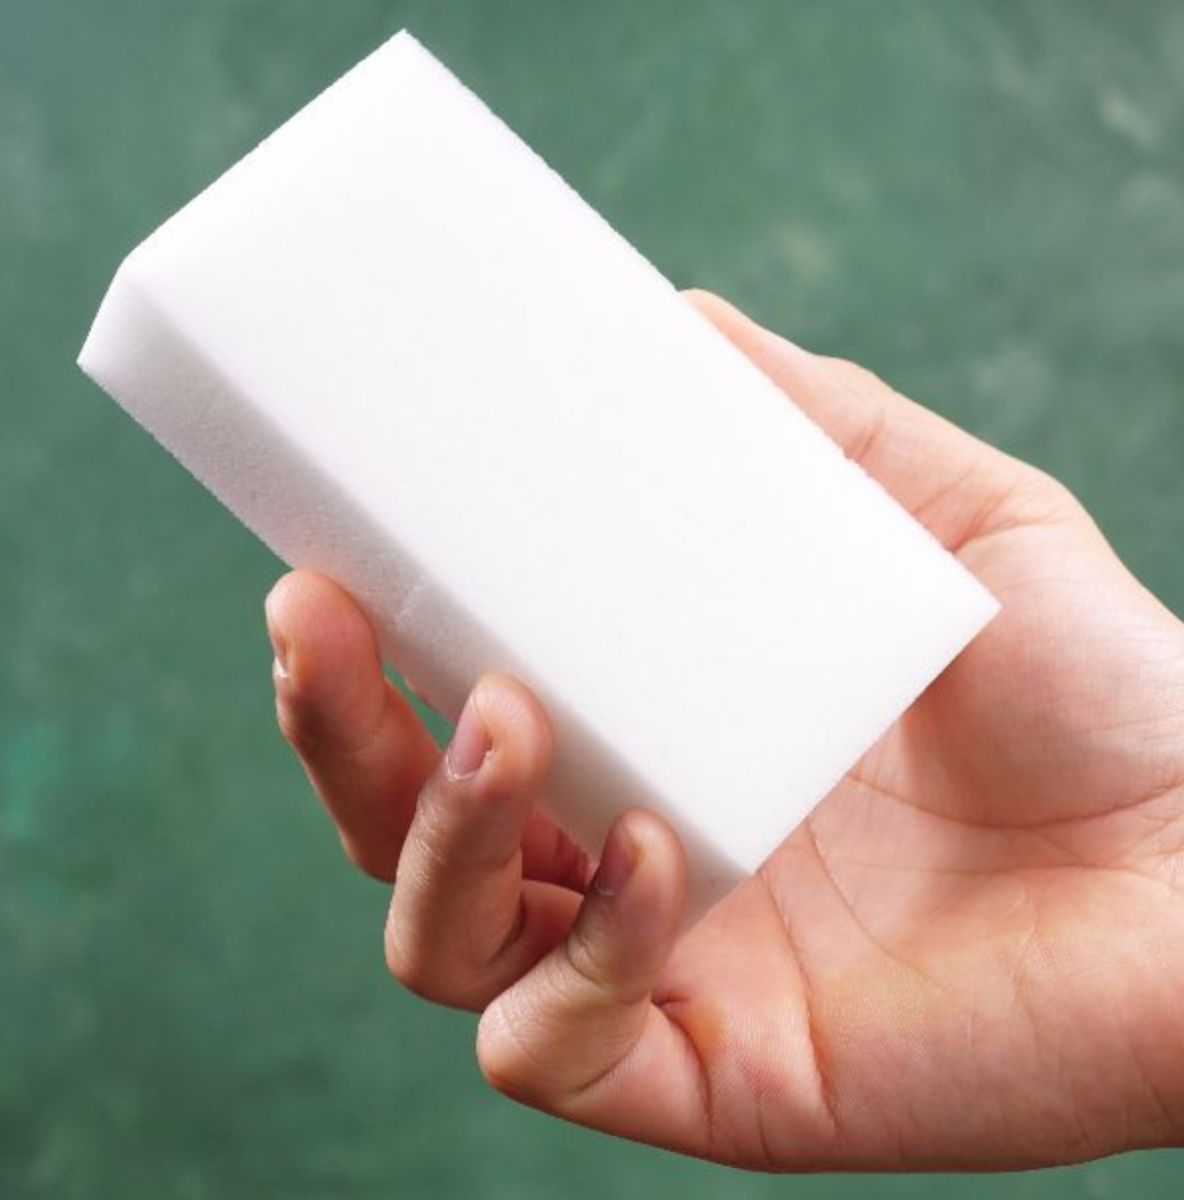
Before we delve into the recipe for making your own Magic Eraser, let’s talk about the key ingredient – the melamine sponge. Also known as a magic eraser sponge, it’s a versatile cleaning tool that works wonders on a wide range of surfaces. The unique texture of the melamine foam makes it highly effective at lifting dirt, grime, and marks without the need for harsh chemicals. These sponges are readily available in stores, often marketed as premium cleaning products. However, you can harness their power in a cost-effective and eco-friendly way by creating your own DIY version.
Creating Your DIY Magic Eraser:
Follow these simple steps to create your own DIY Magic Eraser:
Gather Your Materials: Collect the melamine sponge(s), baking soda, Borax, and a bucket or bowl to hold the cleaning solution.
Prepare the Cleaning Solution: For each melamine sponge, mix 1 cup of hot water with 1 tablespoon of baking soda and 1 teaspoon of Borax. Stir the mixture until the powders are fully dissolved.
Soak the Sponge: Immerse the melamine sponge in the cleaning solution. Allow it to soak for a few minutes until it expands and becomes soft.
Squeeze Out Excess Liquid: Gently squeeze the sponge to remove excess liquid. You want the sponge to be damp, not dripping wet.
Test on a Small Area: Before using the DIY Magic Eraser on a larger surface, test it on a small, inconspicuous area to ensure that it doesn’t damage or discolor the material.
Start Cleaning: With your damp DIY Magic Eraser in hand, gently scrub the stained or marked surface. Apply a bit of pressure as needed, but be cautious on delicate surfaces to avoid scratching.
Rinse and Dry: Once you’ve successfully removed the stain or mark, rinse the area with clean water to remove any residue from the cleaning solution. Use a clean, dry cloth to pat the area dry.
Benefits of DIY Magic Eraser:
Creating your own Magic Eraser offers several benefits:
Cost-Effective: Commercial magic erasers can be pricey, but making your own version costs just a fraction of the price.
Environmentally Friendly: By using a DIY version, you’re reducing the need for single-use cleaning products and minimizing plastic waste.
Customizable: You can adjust the cleaning solution’s strength to suit different cleaning needs. Increase or decrease the amount of baking soda and Borax depending on the level of dirt or stain.
Safe for Many Surfaces: This DIY Magic Eraser is generally safe for a variety of surfaces, including walls, countertops, appliances, and more.
Tips for Effective Cleaning:
Test an Inconspicuous Area: Before using the magic eraser on a highly visible area, test it on a small, inconspicuous spot to ensure it doesn’t damage or discolor the surface.
Avoid Using on Glossy Paint: While melamine foam is generally safe for many surfaces, it’s best to avoid using it on glossy or delicate paint finishes, as it might dull the surface.
Use Light Pressure: Apply light pressure when using the magic eraser. The abrasive nature of the foam can remove dirt and stains effectively without excessive force.
Dry and Store Properly: After using the magic eraser, allow it to air dry before storing it in a dry place. This prevents mold growth and extends the life of the foam.